 |
|||
|
|
|||
|
Page Title:
Front Panel Fastener Assembly Removal and Replacement |
|
||
| ||||||||||
|
|
 TM 32-5865-218-24&P
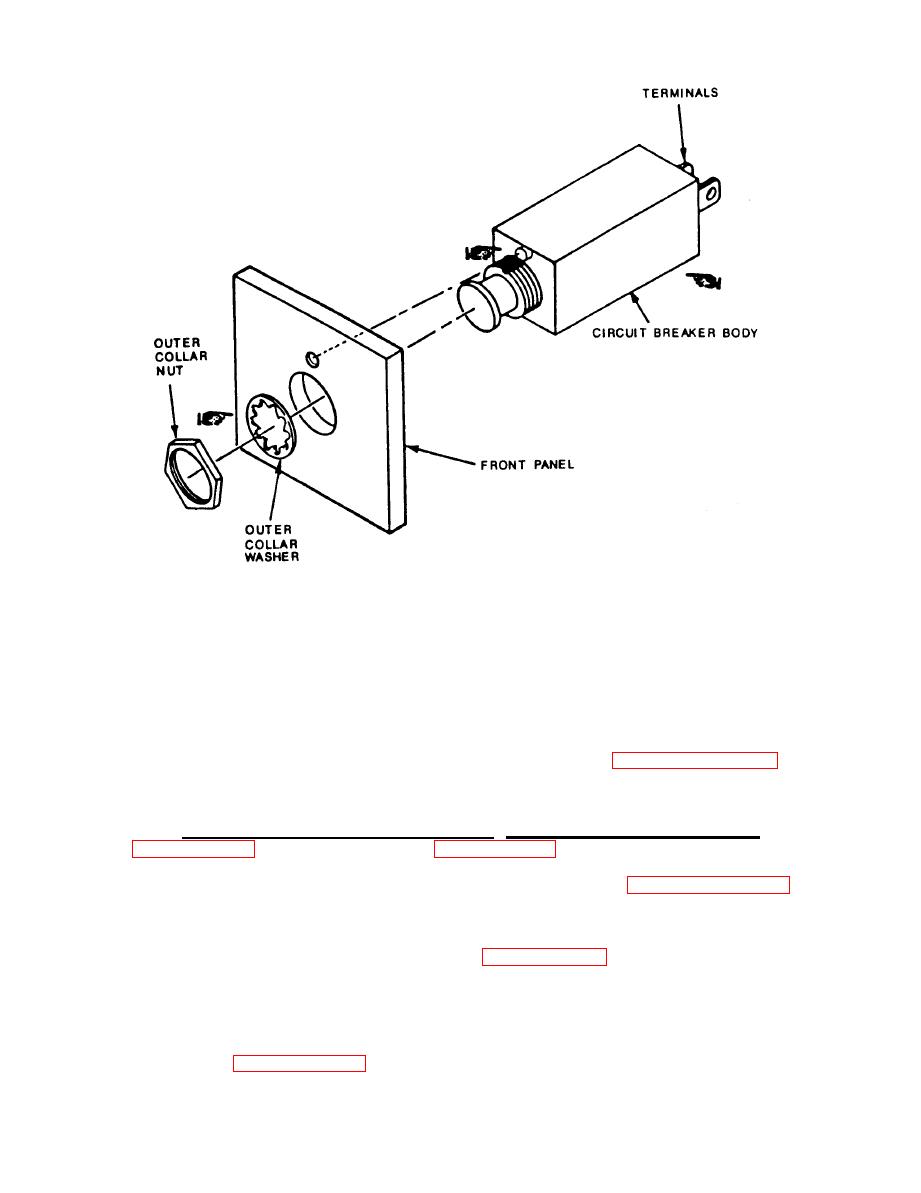
Circuit Breaker Replacement
(4)
To replace ground stud, place two lugs (54) and lock
washer (55) over stud, then insert stud (53) through
opening in chassis from inside unit.
(5)
Secure stud to chassis with two flat washers (56), lock
washers (57) and nuts (58), alternately placed.
Replace top cover in accordance with paragraph 5-12a.
(6)
Refer to section V of this chapter.
(7)
aa. Front Panel Fastener Assembly Removal and Replacement.
Refer
to figure 5-13, item (59) and figure 5-12, and proceed as follows:
Remove front panel in accordance with paragraph 5-12b.
(1)
(2)
Use tool set no. PT 31/2 to remove defective fasteners
Place head of defective fastener
from front panel (3).
Place tool against
into block as shown in figure 5-12.
locking head of fastener and strike tool with hammer to
drive defective fastener out of panel.
(3)
Insert replacement fastener through opening in panel, then
insert fastener into flaring hand tool PT 3 1/2A as shown in
|
|
Privacy Statement - Press Release - Copyright Information. - Contact Us |
