 |
|||
|
|
|||
|
|
|||
| ||||||||||
|
|
 TM 9-2320-270-20-1
BULKHEAD CONNECTORS - CONTINUED
ACTION
REMARKS
ITEM
LOCATION
REPAIR CONTINUED
NOTE
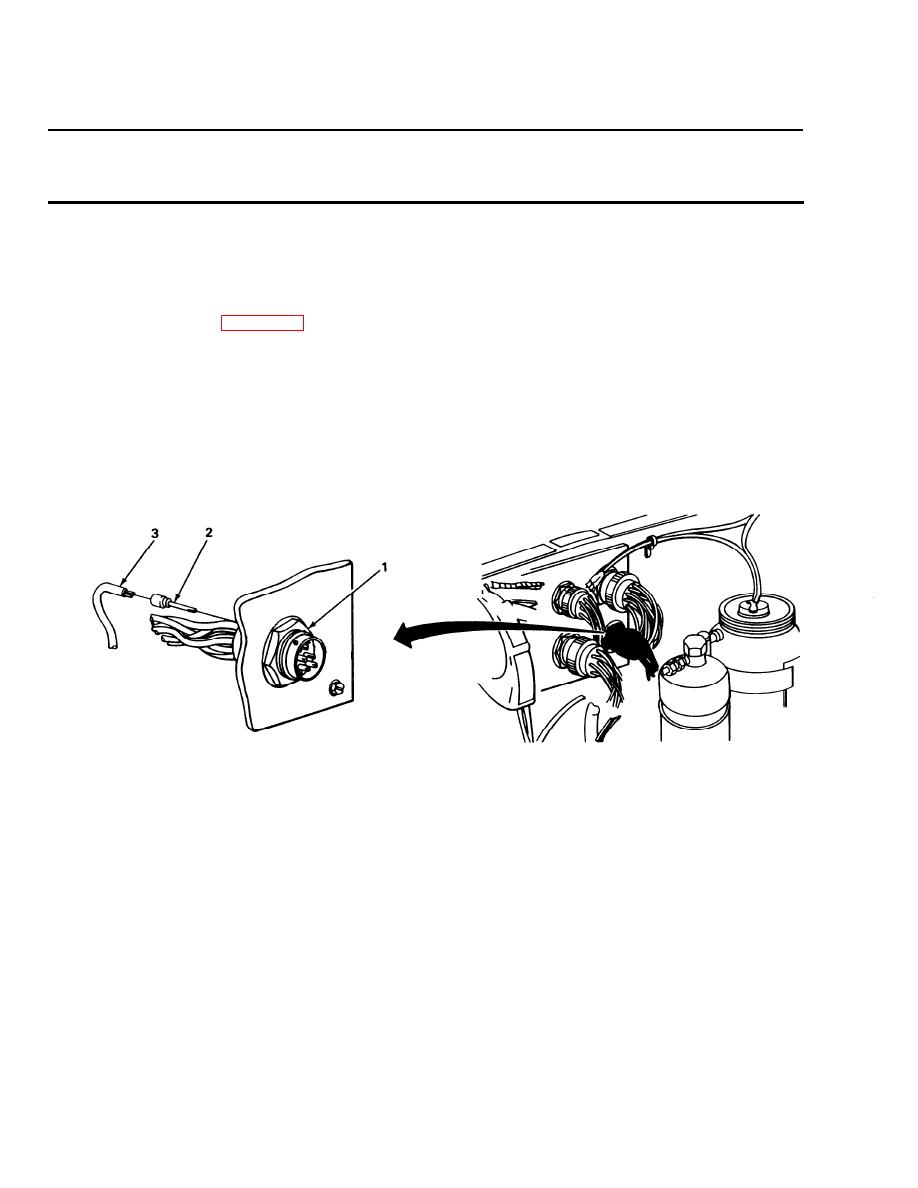
Connector inserts must be changed from behind instrument panel. If instrument panel is
not open, open it (page 4-244).
Using appropriate size wire removing
Female insert (2)
13. Connector (1)
tool, take out.
Repeat steps 7 thru 10.
Wire (3)
14.
Push in until positive stop is felt.
New female insert
15.
Tug lightly on wire to make sure
(2) and wire (3)
insert is seated.
INSTALLATION
Push into place.
Connector (1)
16. Connector mounting
plate (4)
Screw on and tighten using angle-nose
Washer (5)
17. Connector mounting
pliers.
plate (4) to
and nut (6)
connector (1)
NOTE
To assure proper assembly, use chart to make sure correct wire and insert goes into
correct hole.
All inserts (10)
Push in until positive stop is felt.
18. Bulkhead connectors
Tug lightly on wire to make sure
and wires (11)
(1, 7,8, or 9)
insert is seated.
TA240229
4-492
|
|
Privacy Statement - Press Release - Copyright Information. - Contact Us |