 |
|||
|
|
|||
|
Page Title:
JUNCTION BOX ASSEMBLY INSTALLATION |
|
||
| ||||||||||
|
|
 TM 9-1220-220-34
4-33.
JUNCTION BOX ASSEMBLY INSTALLATION
APPLICABLE CONFIGURATION: M10, M10A1, M10A4, M10A5, and M10A6
TOOLS:
1/2" box end wrench
1/2" open end wrench
SUPPLIES: Cleaning rag
Alcohol (item 1, App A) or solvent (item 4, App A)
PERSONNEL:
One
REFERENCES:
JPG 41C for cleaning
WARNING
CLEANING SOLVENTS CAN CAUSE FIRES
Cleaning solvents and the fumes from cleaning solvents can catch fire. Keep it and all
materials that can catch on fire away from flames. Use only in a room with alot of fresh air.
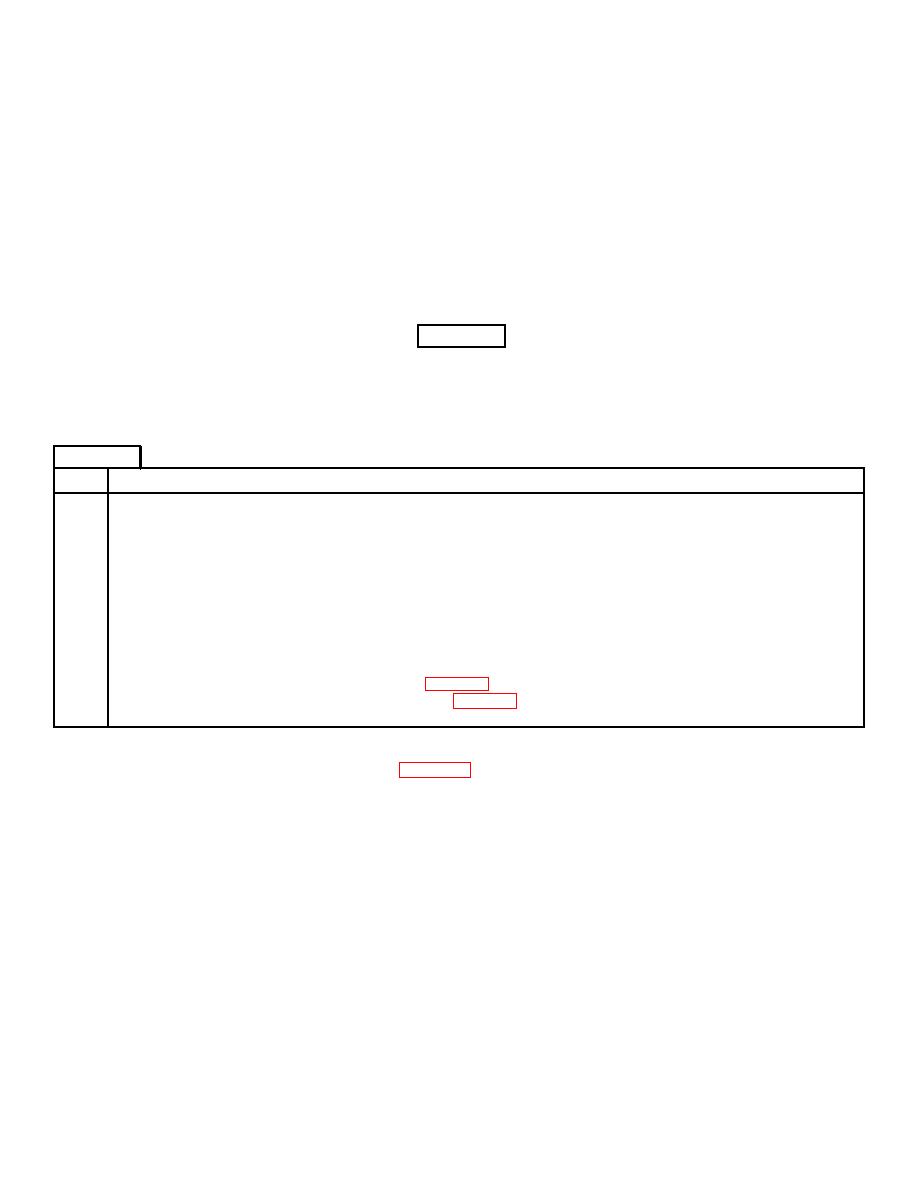
FRAME 1
Step
Procedure
1.
Using cleaning rag and alcohol or solvent, clean all turret mounting pads and ballistics
drive mounting surfaces (JPG).
2.
Using 1/2"box end wrench and 1/2"open end wrench, install bracket (1) to junction box
assembly (2) with two screws (3), two lockwashers (4) and two nuts (5).
Using 1/2"box end wrench, install junction box assembly (2) and bracket (1) to shock
3.
mount (not shown) with two capscrews (6) and lockwashers (7).
NOTE
FOLLOW-ON MAINTENANCE
Connect ballistics drive (para 4-5, frames 8 and 9).
Do performance test (Vol 1, para 2-2).
END OF TASK
Para 4-33 Vol II
4-86
|
|
Privacy Statement - Press Release - Copyright Information. - Contact Us |
