 |
|||
|
|
|||
|
Page Title:
Table 3-12. Range Readout Fault cont'd |
|
||
| ||||||||||
|
|
 TM 9-1260-477-34
Range Readout Fault (Cont)
Table 3-12.
Item
Step
Action
Indication
Yes
No
25
LD/R
Set POWER switch to ON.
Connect oscilloscope (15, 18,
26
LD/R
19, 22, or 23, Table 2-1)
between A1A3 TP4 and A1A3J1-56
(RTN). Refer to Figure 4-2,
Sheet 2.
NOTE
It may be necessary to fire laser
repeatedly to observe pulses in
next step.
Laser will be fired in the next step.
Observe WARNINGS inside front cover of
this manual before proceeding. Insure
front window cover is securely in place
to avoid possibility of scattered laser
light from output window.
Go to
Fault Locator
Replace
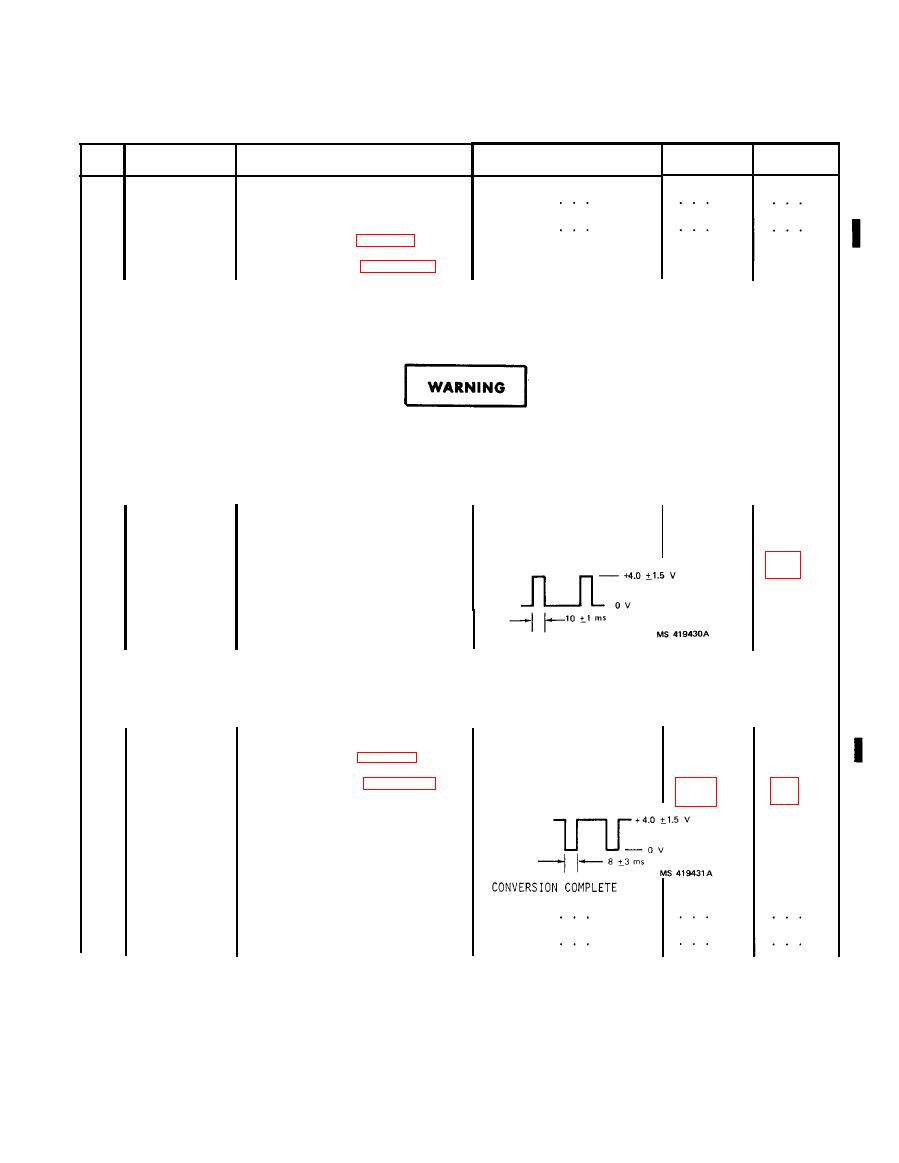
Oscilloscope display is
27
Set LASER switch S9 to START,
next step.
then to ON.
A1A3
as shown below:
per para-
CONVERSION START
NOTE
It may be necessary to fire laser
repeatedly to observe pulse in next
step.
Replace
Replace
Oscilloscope display is
28
LD/R
Connect oscilloscope (15, 18,
A1A3
as shown below:
A1A4
19, 22, or 23, Table 2-1)
per para-
per para-
between A1A3 TP5 and A1A3J1-56
(RTN). Refer to Figure 4-2,
Sheet 2.
Fault Locator
Set LASER switch S9 to OFF.
29
30
Set POWER switch to OFF.
LD/R
Change 3
3-55
|
|
Privacy Statement - Press Release - Copyright Information. - Contact Us |
