 |
|||
|
|
|||
|
|
|||
| ||||||||||
|
|
 TM 9-2320-269-34-1
Many service replacement parts are available in various undersize and/or oversize, as well as standard sizes. Also,
service kit for reconditioning certain parts and service sets which include all of the parts necessary to complete a task are
available (i.e., steering shaft universal joint kit).
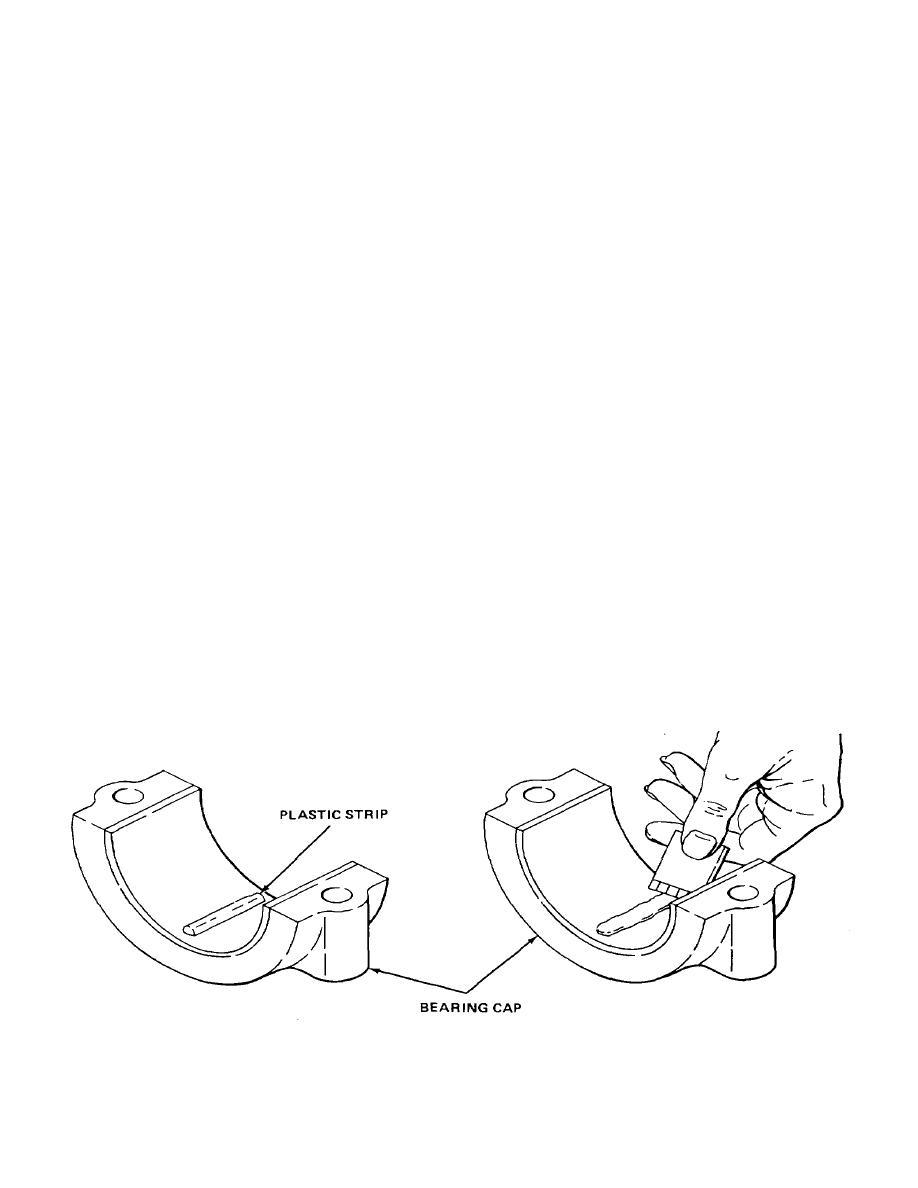
REPAIR Bearing clearance: A strip of soft plastic squeezed between crankshaft journal and connecting rod bearing or
main bearing may be used to measure bearing clearance.
The strip is a specially molded plastic "wire" and is available in three sizes and colors. Type PG-1 (green) has a clearance
range of 0.001 to 0.003-inch (0.025 to 0.76 millimeter). Type PR-1 (red) has a range of 0.002 to 0.006-inch (0.050 to
0.152 millimeter), and Type PB-1 (blue) has a range of 0.004 to 0.009-inch (0.101 to 0.228 millimeter).
Check bearing clearance as follows:
a. Remove bearing cap, and wipe off oil from bearing shell and crankshaft journal.
NOTE
When checking main bearing clearances with engine in a position where main bearing caps are
supporting weight of crankshaft and flywheel, a bad reading may result because of weight of
crankshaft and flywheel. Support weight by using a jack under counterweight, next to the bearing
being checked.
b. Put a piece of plastic strip the full width of the bearing shell, about 1/4-inch (6.35 millimeter), off center.
c. Rotate crankshaft about 300 from bottom dead center and install bearing cap. Tighten screws to specified torque.
d. Take off bearing shell. Flattened plastic strip will stick to either the bearing shell or crankshaft.
e. Compare width of flattened strip at its widest point, with graduation on envelope. The number within the
graduation on the envelope will indicate the bearing clearance in thousandths of an inch. Taper may indicate
when one end of flattened strip is wider than the other. Measure each end of plastic; the difference between
readings is the approximate amount of taper.
2-48
|
|
Privacy Statement - Press Release - Copyright Information. - Contact Us |