 |
|||
|
|
|||
|
|
|||
| ||||||||||
|
|
 TM 9-2320-269-34-1
TRANSMISSION ASSEMBLY - CONTINUED
ACTION
LOCATION
ITEM
REMARKS
INSTALLATION - CONTINUED
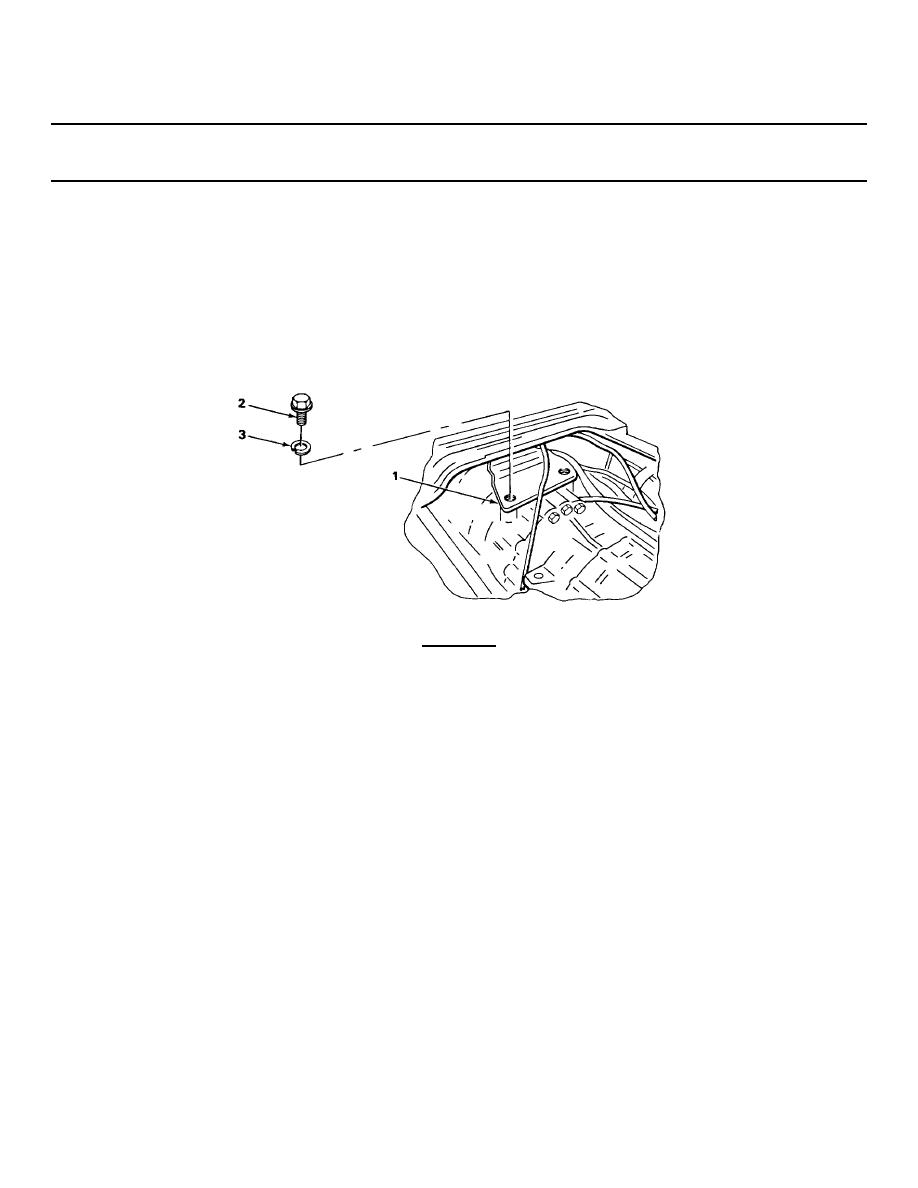
35.
Transmission rear
Two screws (2) and
a. Position transmission to bracket (1).
mount bracket (1)
new lockwashers (3)
b. Screw in until snug using 15/16-inch
socket and ratchet handle with 1/2-
inch drive.
c. Using 15/16-inch socket and torque
wrench with 1/2-inch drive, tighten
to 75 - 85 ft-lb(102 - 115 N m) of torque.
WARNING
Make sure the ignition key is in the OFF position and the engine stop control is in the STOP
position. In the following step, the engine will be rotated by hand. If the engine starts, serious
injury or death could result.
36.
Crankshaft (4)
Crankshaft
Have assistant, using barring tool, turn
pulley (5)
pulley (5) to rotate flywheel (6) so
that torque converter studs can be
reached through handhole in the fly-
wheel housing.
37.
Flywheel (6)
Six nuts (7)
a. Screw on until snug using 9/16-inch
deep well socket and ratchet handle
with 1/2-inch drive.
b. Using 9/16-inch deep well socket and
torque wrench with 1/2-inch drive,
tighten to 33 - 40 ft-lb (45 - 54 N m)
of torque.
38.
Flywheel housing (8)
Handhole cover (9)
Place in position.
39.
Handhole cover (9)
Screw (10) and new
Screw in, and tighten using 7/16-inch
lockwasher (11)
socket and ratchet handle with 1/2-inch
drive.
TA238382
2-644
|
|
Privacy Statement - Press Release - Copyright Information. - Contact Us |
