 |
|||
|
|
|||
|
|
|||
| ||||||||||
|
|
 TM 9-2320-269-34-1
BODY LGHT WIRING HARNESS - CONTINUED
ACTION
LOCATION
ITEM
REMARKS
INSTALLATION - CONTINUED
NOTE
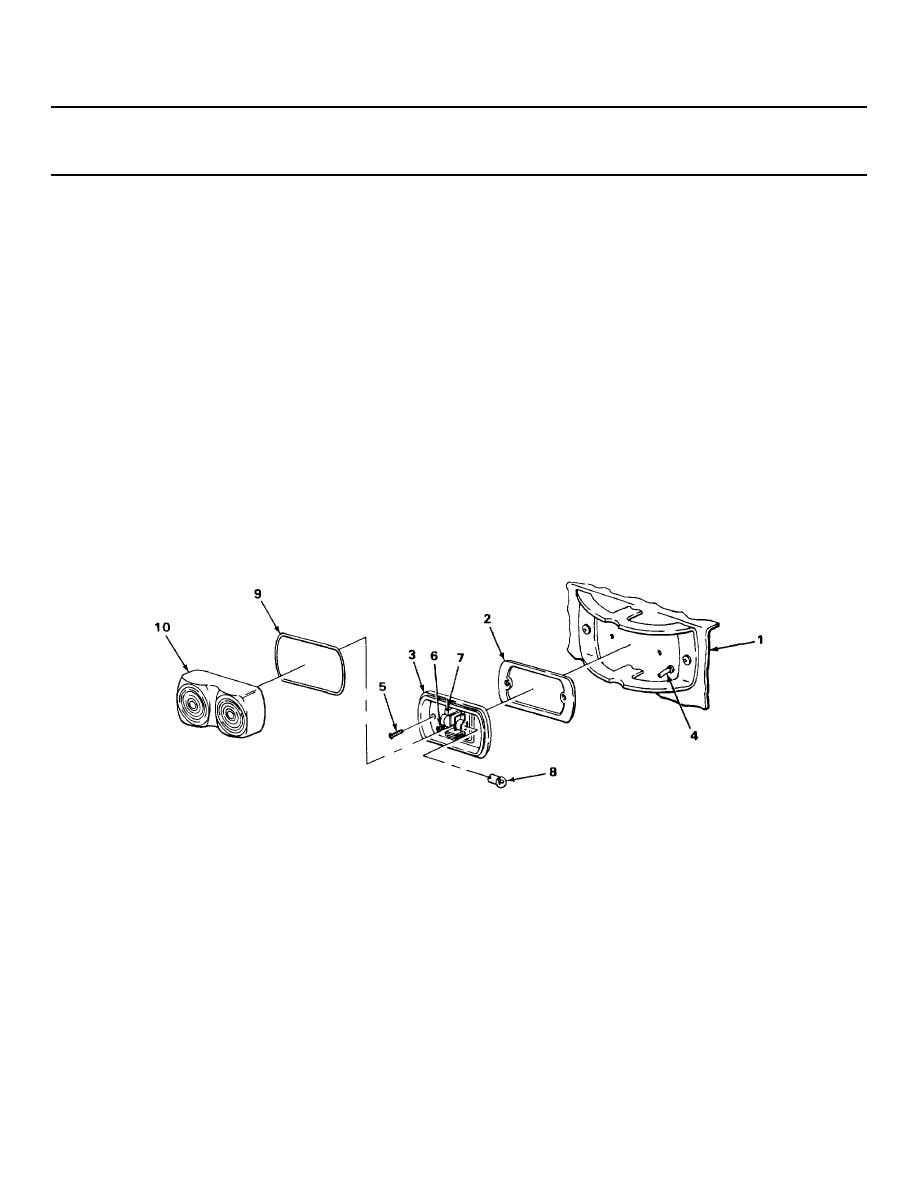
Right side marker light installation is shown. repeat steps 31 thru 35 for left side light.
31
Stowage box (1)
New gasket (2) and
a
Put wire (4) through gasket (2)
marker light (3)
and light.
b.
Put light (3) in position.
32
Marker light (3)
Two screws (5)
Screw in, and tighten using 3/16-inch
flat-tip screwdriver.
33
Lead wire
Lead wire (4)
Solder into place using soldering gun
contact (6)
and solder.
34
Marker light
Two bulbs (8)
Push in, and turn.
bulb clips (7)
35
Marker light (3)
New gasket (9) and
Put in place.
lens (10)
36
Housing (11)
Wire (12)
Put through.
37
Lamp (13)
Two screws (14)
a Put lamp (13) in position.
and terminals (15)
b. Put on terminals (15), and using 3/16-
inch flat-tip screwdriver, tighten
screws (14).
38
Housing (11)
Retaining ring (16)
Hook, and push on
TA238342
2-600
|
|
Privacy Statement - Press Release - Copyright Information. - Contact Us |
