 |
|||
|
|
|||
|
Page Title:
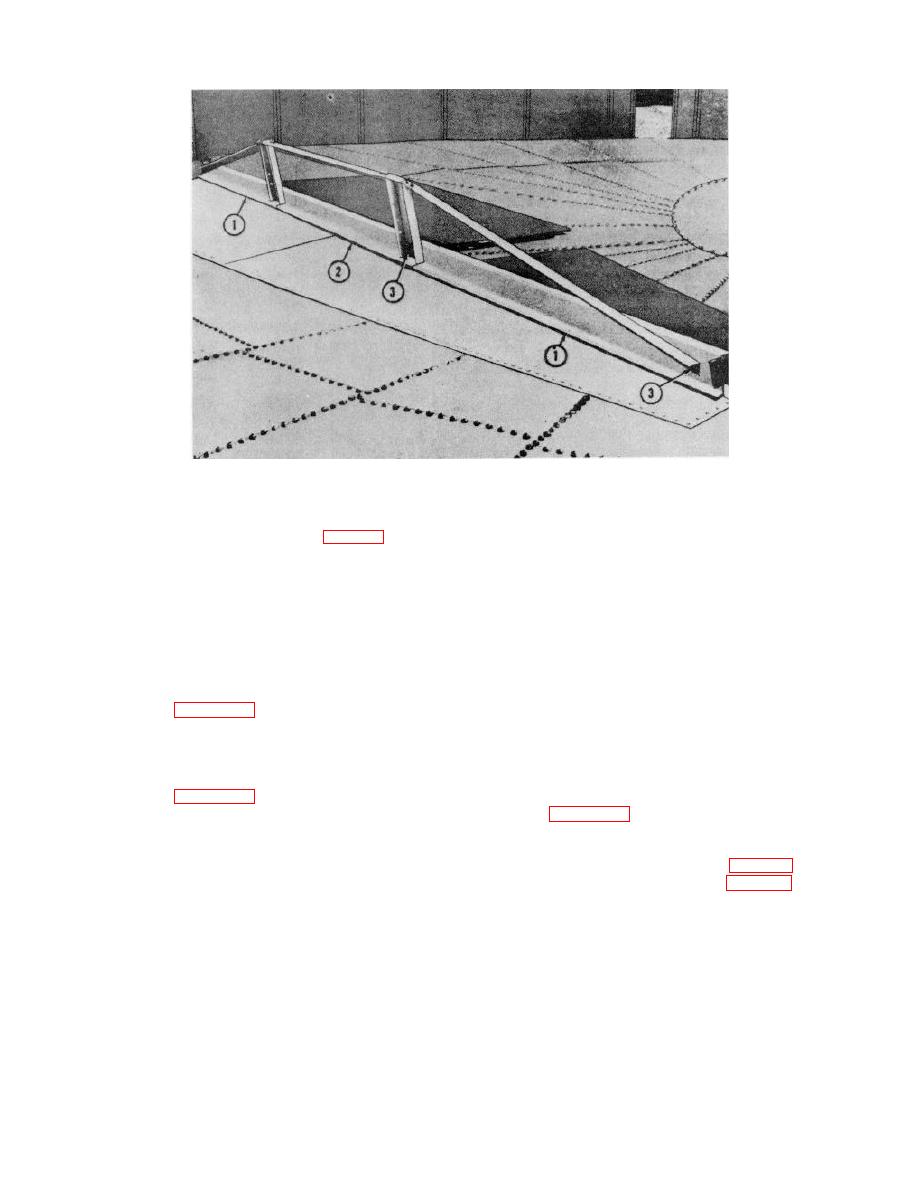
Figure 8-49. Assembled trussed rafter |
|
||
| ||||||||||
|
|
 TM 5-5430-209-12
Figure 8-49. Assembled trussed rafter.
members and posts. Install nuts finger tight on the
(5) Install inner rafter section (7, fig. 8-48) on
bolts.
each lap seam as in step (4) above.
(12) Install outer tension members (12). Attach
(6) Install rafter bolt retainer (14) over the bolts
the 4-bolt hole end to the inside face of the web of rafter
in rafter sections (7, 8, and 9). Insert 1/2-by 1-inch bolts
sections (9), and the 2-bolt hole end to the outer rafter
(16) through retainers (14) and rafter sections.
posts (3). Insert bolts (16) through rafter sections, posts,
(7) Install nuts (18) on bolts (16). Make sure the
and tension members. Install nuts finger tight on the
flat face of the nut is against the web of the sections.
bolts.
Tighten all bolts.
(13) Install truss support plates (6) at posts (3
(8) Install inner rafter posts (4) on inside face of
and 4). The plates tie tension members (10, 11, and 12)
webs at butt joints of rafter sections (7 and 8). Position
together. Insert bolts through tensions members and
them as shown on figure 8-48. Insert bolts (16) through
plates (6). Install nuts finger-tight on the bolts.
stiffener (15), rafter sections and posts. Secure bolts
(14) Tighten all remaining bolts in the trussed
with finger-tightened nuts.
(9) Install outer rafter posts (3) on inside face of
(15) Install rafter support clips (13) at inner
webs at butt joints of rafter sections (8 and 9). Position
edges of inner rafter sections (7). Position them as
them as shown on figure 8-48. Insert bolts (16) through
shown on figure 8-48. Insert bolts (16) through the wide
stiffeners (15), rafter sections, and posts (3). Install nuts
leg of the angle and section. Install nuts on the bolts
finger-tightened on the bolts.
and tighten.
(10) Install inner tension members (11). Attach
(16) Install rafter hangers (1, fig. 8-50) at the
the 2-bolt hole end to inner posts (4), and the 4-bolt hole
outer edge of outer rafter section (9, fig. 8-48). Insert
end to the inside face of the web of rafter inner sections
bolts (2, fig.8-50) through the bottom flange of the
(7). Insert bolts (16) through the rafter sections, posts,
sections and hangers. Install nuts (3) on bolts (2) and
and tension members. Install nuts finger tight on the
tighten.
bolts.
(11) Install center tension members (10) on
rafter posts (3 and 4). Insert bolts (16) through the
8-30
|
|
Privacy Statement - Press Release - Copyright Information. - Contact Us |
